

Pantry organizers installation turns an awkward or crowded pantry into storage that fits the room and the way your household uses it. The process should connect careful measurements, a practical design, thoughtful preparation, secure fitting, and a final walkthrough, so the finished pantry is useful from the first day.
Professional pantry organizers installation typically includes an in-home consultation, measurements, a custom storage plan, preparation of the work area, installation of shelves or cabinets, and final adjustments. Creative Closets builds the plan around your pantry’s dimensions, inventory, access needs, and preferred combination of shelving, drawers, pull-outs, and other organizers.
Schedule your free in-home pantry design consultation
For homeowners, the most useful question is not only which organizer looks attractive. It is how the system will handle everyday ingredients, bulk purchases, small appliances, serving pieces, and items that need to stay easy to reach. A well-planned installation makes those decisions before materials arrive.
What happens during the pantry design consultation?
The consultation brings the design conversation into the actual pantry. Creative Closets uses an in-home process that combines professional measurement, needs discovery, real-time design, material and accessory selection, and pricing. A typical appointment lasts 60 to 90 minutes, giving you time to discuss the room and respond to the proposed layout.
The designer begins by learning what is not working. You may have deep shelves that hide smaller items, fixed shelves that do not fit tall containers, corners that are difficult to use, or lower storage that makes heavier items inconvenient to retrieve. Those observations help determine whether your plan needs adjustable shelves, drawers, baskets, pull-outs, or a combination of components.
Inventory matters as much as the room itself. Consider the items you buy regularly and the items you store occasionally. Canned goods, baking ingredients, cereal boxes, serving dishes, countertop appliances, paper products, and bulk packages each need a different kind of access. Sharing those patterns helps the designer reserve the most convenient zones for the items you reach for most often.
Creative Closets can also discuss finish choices and accessories during the appointment. The goal is a design that looks consistent with the home while making the pantry easier to use. For more detail on pantry planning, review the custom kitchen pantry cabinet service page.
How are pantry measurements confirmed before installation?
Accurate measurement is the foundation of pantry organizers installation. The design team looks beyond a single width and height measurement. The plan may need to account for wall depth, door swing, trim, baseboards, outlets, lighting, vents, corners, and changes in the wall surface. These details affect both the size of each component and how comfortably the pantry can be used.
During the visit, point out anything that affects access or storage. Mention doors that need to open fully, an outlet used by a small appliance, a nearby utility panel, or a section of wall that is not the same depth as the rest of the room. It is easier to design around these conditions before the system is approved than to discover them after installation begins.
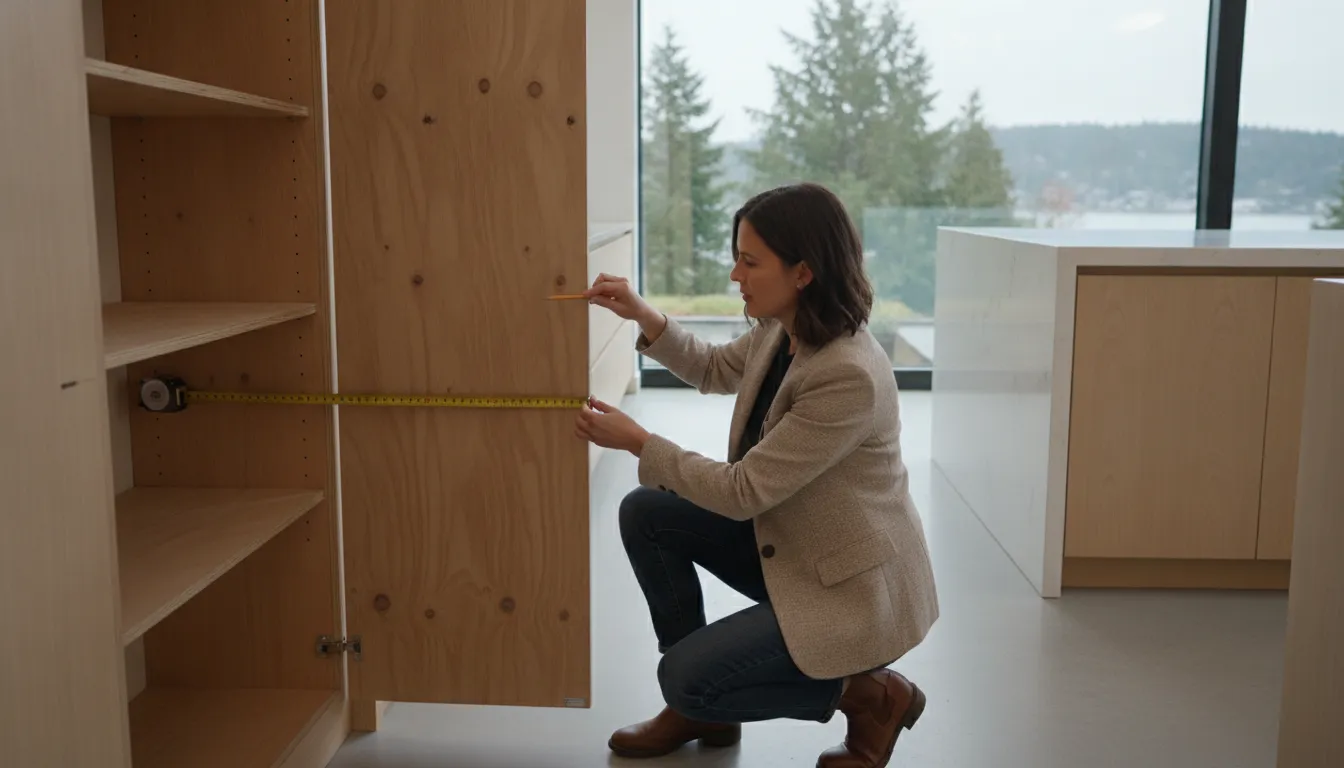
Measurement also guides shelf spacing. Frequently used items often work best at comfortable reach height. Heavy items generally belong lower, while occasional items can occupy higher shelves. The final arrangement should reflect your household’s routines rather than forcing every category into identical openings.
If the existing pantry includes fixed shelving, do not remove permanent components or alter the walls before the consultation unless the installation team directs you to do so. The designer can evaluate what should remain, what should be replaced, and how removal may affect wall preparation.
Which pantry organizer components can improve daily access?
The best component mix depends on the room, the stored items, and the way you move through the pantry. The purpose of customization is not to add every available feature. It is to give each storage zone a clear job and make the items you use most often easy to see and retrieve.
- Adjustable shelves accommodate changing container heights and make it easier to reorganize as your storage needs change.
- Drawers keep smaller ingredients, tools, and accessories contained while making their contents easier to view than a deep shelf.
- Pull-out baskets or shelves bring items forward from deeper areas and can reduce the need to reach around items in front.
- Tall storage sections provide room for cereal boxes, bottles, paper products, and other taller items that may not fit on closely spaced shelves.
- Cabinet doors can conceal less frequently used supplies or create a more furniture-like appearance in a pantry that opens directly into the kitchen.
- Counter-height surfaces can give a walk-in pantry a staging area for small appliances, serving pieces, or grocery unpacking.
Use the design conversation to identify which features solve a real problem. A pull-out can be valuable where a deep shelf creates blind spots, while adjustable shelving may be the better choice where container sizes change. The finished plan should balance visibility, capacity, and comfortable movement.
The pantry shelving service page shows how shelving can be planned as part of a broader storage system. For a smaller pantry, the site’s pantry organization service page offers another useful starting point.
What should you do to prepare for installation day?
Preparation should make the work area accessible without requiring you to guess what the crew will need. Before the scheduled visit, remove food and household items from the existing shelves unless the installation team gives you different instructions. Grouping the contents nearby can also help you decide which categories belong together when the new system is ready.
- Clear the route. Make a practical path from the entry to the pantry so materials and tools can be brought into the work area safely.
- Protect fragile items. Move glass containers, small appliances, and valuables away from the pantry and nearby staging areas.
- Keep access points open. Leave doors, outlets, vents, and utility panels available if they are near the installation zone.
- Confirm the approved plan. Have the final layout, finish selections, accessories, and scope available for review before work begins.
- Share special conditions. Tell the team about parking, building access, pets, narrow hallways, or other conditions that could affect arrival and setup.
Ask in advance how existing shelving will be handled. Depending on the approved scope, removal and disposal may be included, while wall spackling or preparation may be needed after an old system comes out. Knowing what is included keeps the preparation plan clear.
Creative Closets describes installation as a coordinated process that includes preparation, installation, and cleanup. The installation expectations guide provides additional context on how a custom storage project moves from preparation to completion.
How does pantry organizers installation work on the scheduled day?
Installation day should begin with a short review of the work area and the approved design. The crew can confirm where materials will be staged, which areas will be protected, and how the planned components will fit into the room. If you have a question about a shelf, drawer, or access point, raise it before the work is underway.
The installation sequence varies with the size and scope of the pantry, but the major stages are usually consistent:
- Arrival and setup. The team reviews access, protects the work area as appropriate, and organizes tools and materials.
- Existing-system work. If removal is part of the approved scope, existing shelves or organizers are taken out and handled according to the project plan.
- Wall and area preparation. The team addresses the preparation included in the scope so the new system has a suitable surface and a clean transition.
- Component installation. Shelves, cabinets, drawers, baskets, pull-outs, and hardware are fitted and secured according to the approved design.
- Adjustment and alignment. Doors, drawers, shelf positions, and other moving or adjustable parts are checked so they operate as intended.
- Final walkthrough and cleanup. The team reviews the finished pantry with you, answers care questions, and removes installation debris covered by the service.
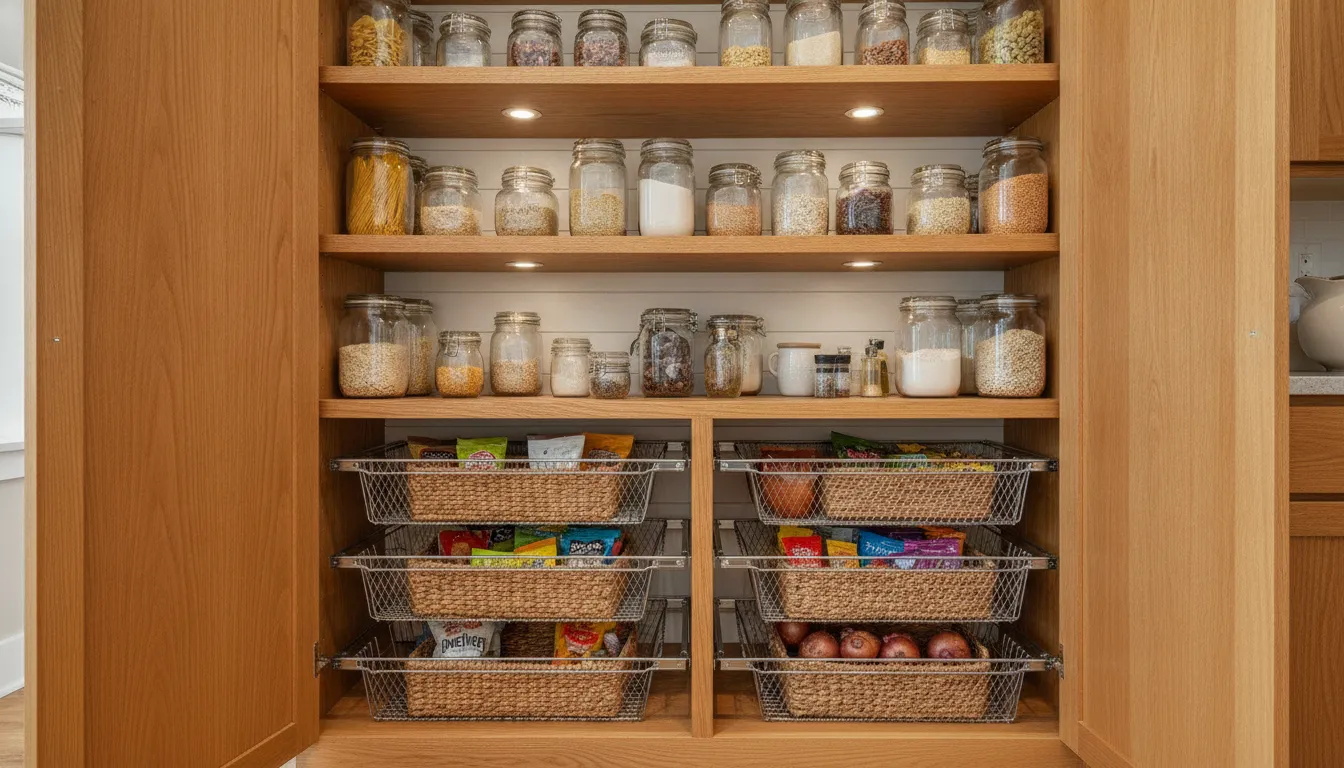
Many Creative Closets projects are completed in one day, but the actual schedule depends on the room and the approved scope. A pantry with multiple cabinets, extensive removal, unusual access, or several specialty features may require a different amount of time. Your design and installation team should explain the expected schedule for your project rather than applying one timeline to every pantry.
What should you review during the final walkthrough?
The final walkthrough is a practical quality check, not just a quick look at the finished room. Compare the installed layout with the approved plan and confirm that the storage zones match the intended use. Check the operation of drawers, doors, baskets, and pull-outs while the installation team is still present.
| Area to review | What to confirm |
|---|---|
| Layout | Shelves, cabinets, drawers, and accessories are positioned as approved. |
| Operation | Moving parts open, close, and pull out smoothly without interfering with nearby components. |
| Access | Doors, outlets, vents, and walkways remain usable as planned. |
| Finish | Visible surfaces, edges, hardware, and transitions are in the expected condition. |
| Cleanup | Included debris removal and the condition of the work area are reviewed together. |
Ask how to adjust shelves as your storage changes and how to care for the finish. If an item needs attention, describe the component and location clearly so the team can document the question and explain the next step.
A few minutes spent on this review can prevent uncertainty later. It also gives you a useful record of the decisions made at handoff, including which sections are intended for everyday ingredients, taller items, bulk storage, or less frequently used supplies.
How can a pantry system stay useful after installation?
A pantry system works best when it remains connected to your routines. Keep the most frequently used items in the easiest-to-reach zones, use higher shelves for occasional items, and leave enough flexibility for changes in container sizes or shopping habits. Adjustable components can help the room evolve without requiring a complete redesign.
When restocking, group similar items together and avoid filling every shelf to the edge. Clear sightlines make it easier to identify what you have, while pull-outs and drawers are most useful when their contents remain easy to see. If your pantry includes lighting or a work surface, keep those areas clear enough to support their intended use.
Creative Closets backs its products and workmanship with a lifetime warranty. Keep your project documentation and use the company’s warranty information as the source for applicable coverage and service details. If you have a question after installation, note the room, component, and concern before contacting the company.
Homeowners who are still deciding between a compact pantry and a larger walk-in layout can compare planning considerations in this guide to walk-in pantry design and storage. For a pantry where visibility is a concern, the article on pantry lighting and cabinet planning covers related design decisions.
Talk with Creative Closets about your pantry installation plan
Frequently Asked Questions
How long does pantry organizers installation take?
The installation time depends on the pantry’s size, the approved components, existing-shelf removal, wall preparation, and access conditions. Many Creative Closets projects are completed in one day, but the team should confirm the expected schedule for your specific design.
Do I need to empty my pantry before installation?
Yes, plan to remove food, containers, appliances, and other items from the work area unless the installation team gives you different instructions. Clearing the pantry helps the crew work safely and gives you a chance to sort items before placing them into the new system.
Can pantry shelves be adjusted later?
Many custom pantry designs use adjustable shelving, but the available adjustments depend on the components selected for your project. Ask during the consultation how each shelf, drawer, basket, or pull-out can be used and changed over time.
Will existing pantry shelving be removed?
Existing-shelf removal and disposal should be confirmed in the written project scope. Creative Closets lists removal and disposal among its installation services for applicable projects, and wall preparation may also be included when an old system is replaced.
Does Creative Closets offer a warranty on pantry organizers?
Creative Closets provides a lifetime warranty on its products and workmanship. Review the company’s warranty information and retain your project documentation so you know how applicable coverage and service requests are handled.
Ready to plan a pantry that works harder?
Schedule your free in-home pantry design consultation