

Garage shelving installation in Sammamish should do more than move boxes off the floor. A well-planned system gives tools, seasonal bins, sports equipment, and household supplies a defined place while preserving room to park and work. The process starts with an assessment of your garage, not a one-size-fits-all shelf kit.
Schedule a garage storage design consultation in Sammamish
What Happens During the Initial Garage Assessment?
A professional installer begins by understanding both the room and the way you use it. In Sammamish homes, garages can vary from compact single-car spaces to larger areas that combine parking, workshop activities, outdoor gear, and household overflow. The assessment should account for those competing needs before a layout is finalized.
- Wall construction: The installer checks where studs or other suitable attachment points are located and notes drywall, masonry, trim, and unfinished surfaces.
- Obstacles: Windows, outlets, lighting, utility equipment, doors, garage door tracks, and opener components can all affect shelf placement.
- Clearances: The design must leave useful space for vehicles, walking paths, doors, and any work area you want to keep accessible.
- Existing storage: Old shelves, loose hooks, cabinets, and floor piles are reviewed so the new design solves the real problem rather than simply adding more capacity.
This visit is also the right time to identify anything that should not be stored on an open shelf. Flammable products, heavy equipment, chemicals, and fragile items may need enclosed, low, or otherwise purpose-appropriate storage. A shelving plan should make daily access easier without creating a new safety problem.
How Should You Plan the Items and Loads?
Before choosing shelf widths or heights, group the items that will live in the garage. The most useful categories are usually everyday tools, seasonal decorations, gardening supplies, sports equipment, automotive items, bulk household goods, and long or awkward objects. The goal is to plan around frequency and weight, not just the number of empty bins you have today.
Keep frequently used items between comfortable reach heights. Reserve higher shelves for lighter seasonal containers that are accessed occasionally, and keep dense or heavy items lower and easy to handle. Long-handled tools may work better on a dedicated wall section, while small hardware and hand tools can be stored near a work surface or in drawers.
Load planning should also consider how items will be moved in and out. A shelf that technically fits a large tote may still be inconvenient if the opening is blocked by a vehicle, a workbench, or another container. Leave enough room to lift, carry, and set down the items you use most often. For a design-led overview of cabinets, shelving zones, and work surfaces, see Creative Closets’ custom garage storage solutions.
Which Shelf Materials and Hardware Fit a Garage?
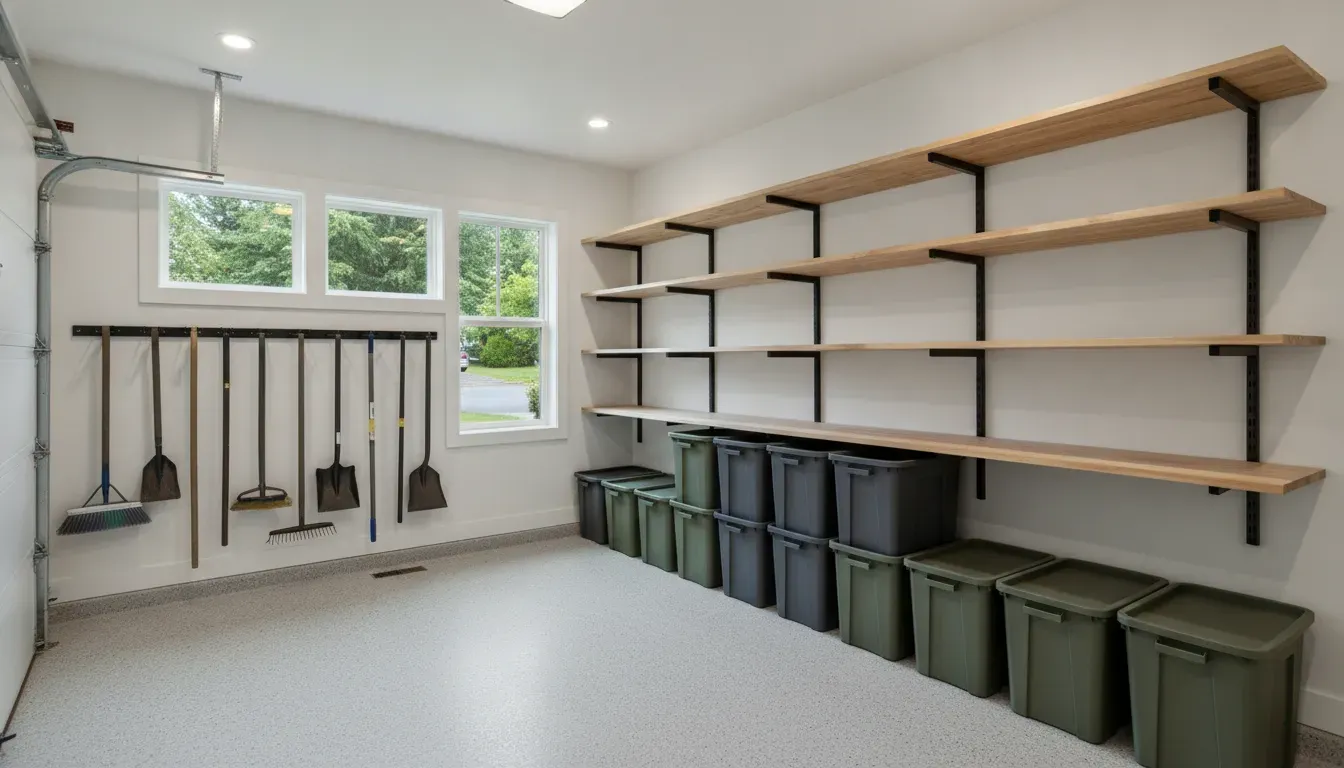
Garage shelving materials need to match the environment and the load plan. A shelf that works for lightweight decor may not be appropriate for dense tools, automotive supplies, or full storage bins. The installer should explain the material, edge treatment, support method, and hardware selected for your design.
Creative Closets’ documented storage specifications include 3/4-inch thermally fused laminate board, impact-resistant 3mm PVC edge banding, heavy-duty steel wall rails, and adjustable components. The company’s product information also lists moisture resistance for interior applications. Those details help explain why material selection matters, but the safe working load is always specific to the shelf span, support spacing, attachment points, and the items being stored.
Ask how the system will be attached to your particular wall. A professional should not promise a universal weight number without seeing the layout and wall conditions. The final plan should identify where the load-bearing sections are, which shelves are intended for heavier items, and what should remain on the floor or in a lower cabinet.
Material selection is only one part of the decision. Open shelves make contents visible and easy to reach. Enclosed cabinets protect items from dust and conceal visual clutter. Slatwall, hooks, drawers, and work surfaces can supplement shelving when bikes, tools, or projects need a different kind of storage. If the garage will also be used as a workshop, review the garage storage planning and cost guide before your consultation so you can prioritize the features that matter most.
How Is the Garage Shelving Layout Designed?
A useful layout creates zones that reflect the room’s routines. A typical plan may include a quick-access area near the entry, a seasonal storage wall, a tool or workbench zone, a tall-item section, and an area for outdoor or sports gear. The exact arrangement depends on your walls, door travel, vehicle position, and the items you want to keep available.
Vertical space can increase capacity without taking over the parking area, but shelves should not be placed so high that they become difficult or unsafe to use. The design should also preserve sightlines and access to electrical panels, water shutoffs, and other service points. If you are considering overhead storage, treat it as a separate design decision. Ceiling-mounted platforms have different clearance, attachment, and access considerations than wall shelving.
During a Creative Closets consultation, the team can use an on-site 3D design process to review proportions and storage choices before installation. This makes it easier to compare an open shelving wall with cabinets, drawers, a workbench, or accessory storage. It also gives you an opportunity to adjust the layout before materials are prepared.
What Should You Do Before Installation Day?
Preparation is usually straightforward, but it helps the installation move efficiently. Remove loose items from the walls and clear enough floor space for the crew to work. If the garage is full, create a staging area outside the installation zone or ask in advance what the team recommends for your project.
- Move vehicles out of the garage and clear the driveway or another agreed access path.
- Remove personal items from existing shelves, hooks, and cabinets that will be replaced.
- Point out anything that must stay accessible, such as an electrical panel, freezer, utility connection, or exterior door.
- Identify heavy, fragile, hazardous, or unusually shaped items so they can be included in the design conversation.
- Confirm the finish, accessories, shelf locations, and any workbench or cabinet components before the installation date.
You generally do not need to pre-drill the walls for a professional installation. The installer should determine whether wall preparation or reinforcement is needed after assessing the surface and attachment points. If you are clearing high shelves yourself, follow safe ladder practices and consult the OSHA Portable Ladder Safety QuickCard. Ask your installer about any uncertain wall condition rather than guessing at the attachment method.
A Practical Installation Day Sequence
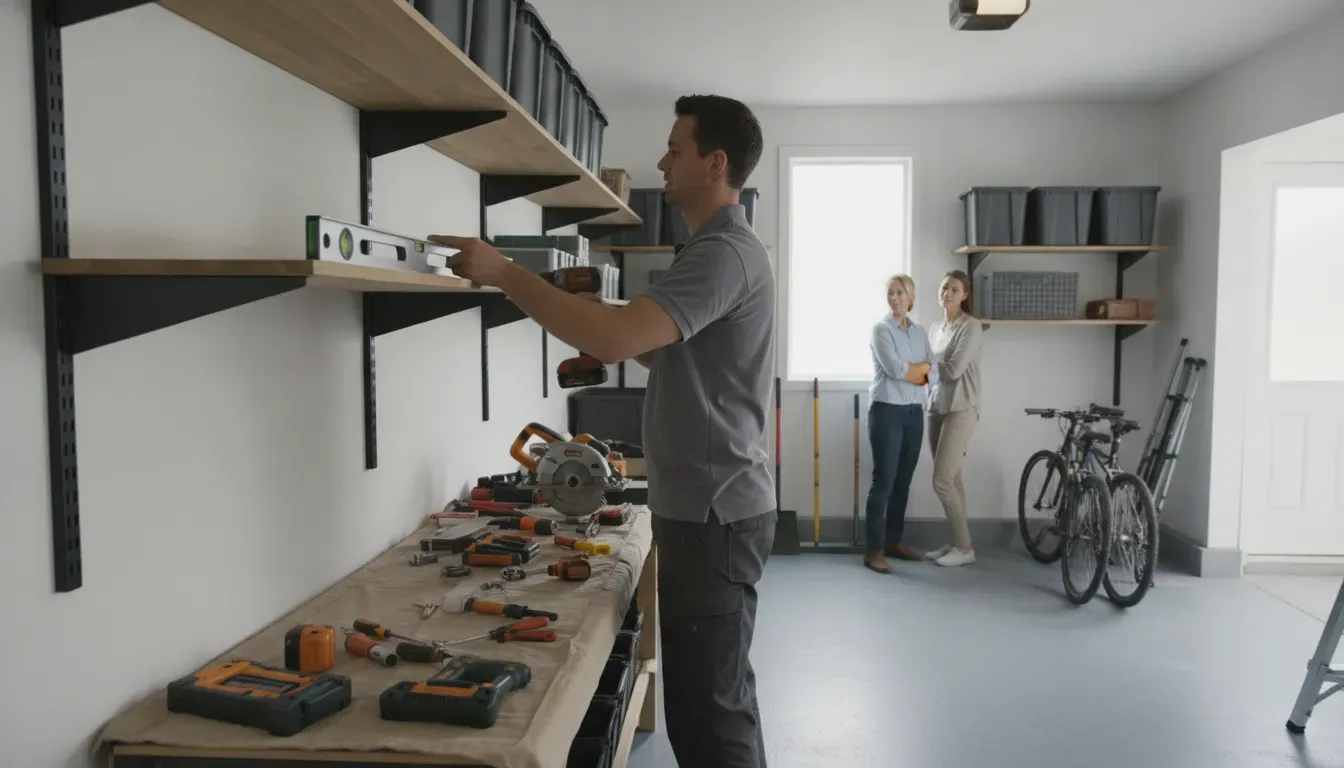
Installation day generally follows a planned sequence. The team confirms the scope and protects the work area before removing any existing system. The wall is then checked for the planned attachment points, and the shelving components are assembled, leveled, secured, and adjusted to the approved design.
For wall-mounted shelving, precise leveling matters. Even a small error can make long shelves look uneven or cause bins to sit poorly. The crew should verify each section as it is installed, maintain the planned clearances, and check that hardware is properly seated. Drawers, doors, hooks, and adjustable shelf supports should be tested rather than assumed to work because they were installed.
Some garages require minor preparation after old storage is removed. Existing holes, uneven surfaces, trim, or other conditions may affect the finish. The installer should explain any condition that changes the scope before proceeding. For related garage upgrades, Creative Closets also offers garage flooring options, but flooring and shelving are separate decisions that should be coordinated when both are planned.
How Are Final Adjustments and Quality Checks Handled?
The final walkthrough is more than a quick look at the finished wall. Each shelf, support, drawer, door, hook, and accessory should be checked for alignment and operation. The installer should review how adjustable components work and confirm that the layout still leaves the planned paths and clearances open.
This is also when you can discuss small changes, such as moving an adjustable shelf, changing the position of a hook, or organizing a section around the items you brought back into the garage. A good system should be practical on the first day, but adjustable storage gives you room to respond as your hobbies, equipment, and household needs change.
Before the crew leaves, confirm the care instructions, warranty documentation, and the right contact for future questions. Creative Closets describes a lifetime warranty on products and workmanship in its guarantee information. Ask which terms apply to your selected components and how service requests are handled.
How Long Does Garage Shelving Installation Take?
The installation itself depends on the wall length, number of shelving sections, existing storage removal, accessories, and any preparation required. A simple open shelving wall may be completed more quickly than a project combining cabinets, drawers, a workbench, and multiple storage zones.
The complete project timeline also includes the consultation, final design approval, material preparation, and scheduling. Creative Closets’ garage service information describes a typical installation timeline of about six weeks after the final design, while the on-site installation is planned around the approved scope. Your designer should give you a project-specific expectation rather than treating every garage as identical.
For Sammamish homeowners, the most useful timeline question is not only, “How many hours will the crew be here?” Ask when the design will be finalized, when materials will be ready, what needs to be cleared beforehand, and when you can expect to use the garage normally again.
What Should You Ask Before Approving the Design?
A clear conversation before installation helps prevent surprises. Bring a short list of the items you want to store, the activities you want to support, and anything that must remain accessible. Then ask questions that connect the design to your actual garage.
- Which walls and attachment points will support the shelving?
- What items belong on each shelf, and which areas are not intended for heavy loads?
- How will the plan preserve vehicle clearance, walkways, windows, doors, and utilities?
- Which components are adjustable if storage needs change later?
- What preparation, removal, cleanup, and final walkthrough are included?
- What are the expected design, production, and installation milestones?
- Which materials, hardware, finish, and warranty terms apply to the proposed system?
These questions help you compare complete installation plans instead of comparing shelf pictures alone. The right choice should fit your garage, your load needs, and your daily routines.
Request a garage shelving consultation for your Sammamish home
Frequently Asked Questions
Can shelving be installed on a finished garage wall?
Often, yes, but the installer needs to inspect the wall and locate suitable attachment points first. Finished drywall, masonry, trim, outlets, and utility access can all affect the design. Do not assume that a shelf can be secured safely in any location simply because the surface looks flat.
Should heavy storage bins go on upper shelves?
Heavy items are generally easier and safer to handle at lower or comfortable reach heights. The final placement depends on the system, span, supports, and the item’s actual weight. Ask the installer to identify the intended load zones rather than assigning heavy bins to the highest shelf.
Can the layout include cabinets or a workbench?
Yes. A garage plan can combine open shelving with cabinets, drawers, a workbench, hooks, slatwall, or other accessories when the room and goals support them. Combining components can make each zone more useful, but it also changes the measurements, clearances, and project scope.
What should I do if my storage needs change later?
Ask which shelves and accessories are adjustable and which components are fixed. A design with flexible shelf positions can adapt as tools, seasonal items, or hobbies change. Keep the warranty and care information so you know how to request help if a component needs service.