

Closet shelving system installation is a measured, staged process rather than a one-size-fits-all assembly job. A professional installer confirms the design, prepares the walls, secures and levels each component, adds accessories, checks operation, and leaves the space ready for use. Understanding these steps helps homeowners plan confidently and protect long-term performance.
Discuss your custom closet shelving project with Creative Closets
What Happens Before Installation Day?
A successful installation starts well before the first shelf reaches the wall. During the design and consultation process, the team reviews how you use the closet, what you need to store, and which parts of the room create constraints. The goal is to make the finished system fit both the space and your daily routines.
Professional planning usually covers:
- Wall-to-wall, floor-to-ceiling, and opening measurements.
- Door swings, windows, outlets, trim, vents, and other obstructions.
- Long-hang, double-hang, folded-item, shoe, and accessory storage zones.
- The preferred finish, hardware, drawers, rods, and adjustable shelf locations.
- Clearances needed to open doors, pull drawers, and move comfortably through a walk-in closet.
Measurements are then checked against the design before materials are prepared. That second look matters because a system can be attractive on paper but difficult to use if a drawer meets a door casing or a shelf blocks a light switch. Creative Closets provides personalized design guidance so the layout is built around the homeowner’s priorities instead of a generic kit.
How Is the Closet Prepared?
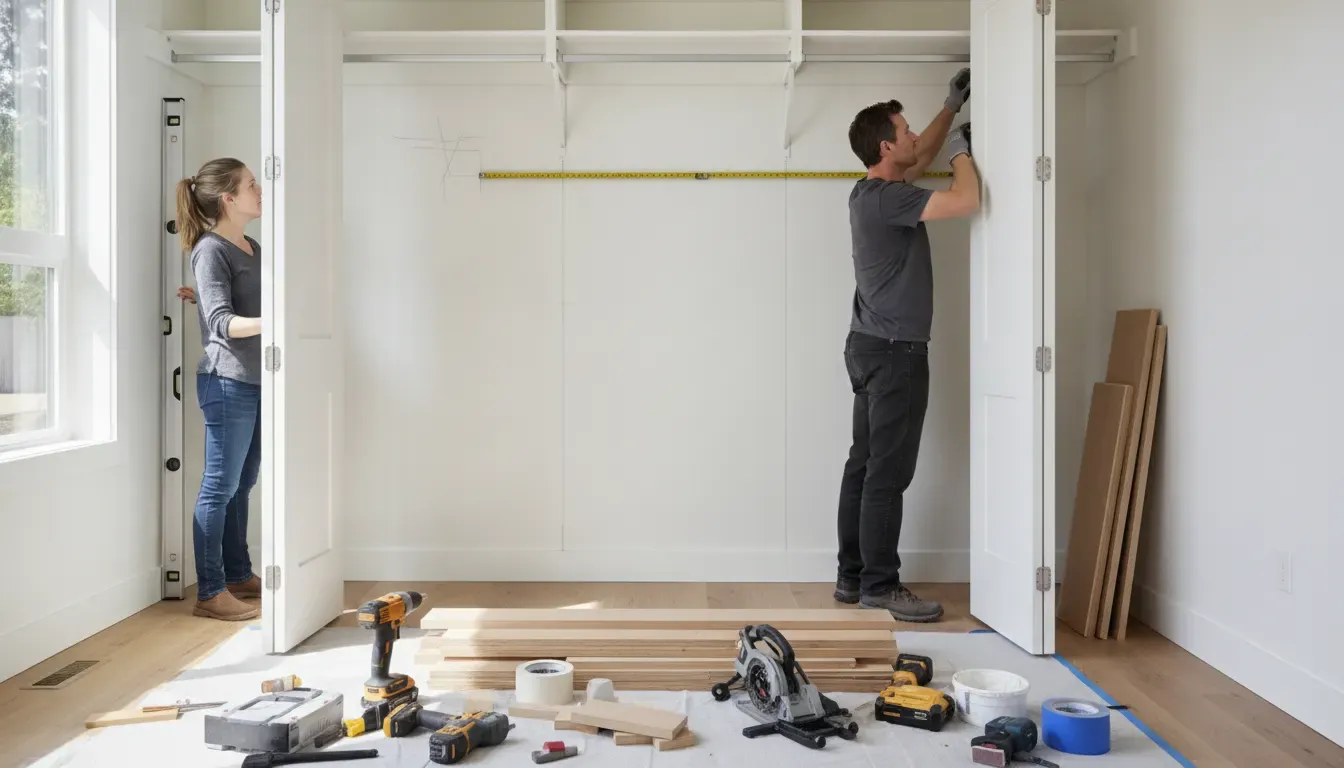
Preparation gives the installation team a clean, predictable surface to work from. Homeowners should remove clothing, boxes, and personal items from the closet before the scheduled appointment. If an existing system is being replaced, the removal and disposal plan should be confirmed in advance.
The installer then reviews the room’s actual conditions. Walls may not be perfectly straight, floors can vary slightly in height, and older shelving may have left holes or marks behind. Depending on the agreed scope, preparation can include minor wall repair, surface cleanup, and adjustments that help the new system sit neatly against the room.
Good preparation also protects the rest of the home. Installers can stage components thoughtfully, use floor protection, and keep hardware organized while they work. Before installation begins, the team should confirm the layout and finish with the homeowner so any final questions are answered while changes are still practical.
How Are Shelves Leveled and Anchored?
Leveling and anchoring are the parts of closet shelving system installation that most directly affect stability, appearance, and everyday use. A professional installer establishes a reliable reference line, positions the main components, and checks that shelves and vertical panels sit correctly in relation to the wall and floor.
Attachment points are selected based on the wall construction and the system design. Where appropriate, the installer locates solid framing or uses an attachment method suited to the wall surface. The goal is not simply to fasten a panel somewhere on the wall. It is to create a secure connection that supports the planned configuration and keeps the system aligned.
As sections are installed, the team checks for:
- Level shelf surfaces from side to side.
- Plumb vertical panels and towers.
- Consistent spacing between shelves and hanging rods.
- Clearance for drawers, doors, baskets, and other moving parts.
- Secure connections at rails, supports, brackets, and wall attachment points.
Weight capacity depends on more than the material alone. Shelf span, depth, support spacing, wall attachment, and the way items are loaded all influence performance. A professional design can place supports where they make sense for the intended use instead of relying on a broad weight claim that may not fit every layout.
What Materials and Supports Go Into a System?
Closet shelving can be designed with different combinations of shelves, vertical dividers, towers, hanging rods, drawers, and accessory hardware. The right mix depends on the room, the items you want to store, and how much adjustability you want over time.
Common components include:
- Fixed or adjustable shelves for folded clothing, linens, bags, and everyday accessories.
- Vertical panels or towers that organize the layout and create defined storage zones.
- Long-hang and double-hang rods for different garment lengths.
- Drawers for smaller items that are easier to organize behind a closed front.
- Shoe shelves, baskets, hampers, valet rods, and other accessories selected for the household.
Material selection should account for the intended use, the desired finish, and the visual relationship between the closet and the rest of the home. Creative Closets can discuss available colors and styles during the design process, including current options such as Linen when it suits the room. The installation team then works from the approved plan so the delivered components match the design direction.
How Are Accessories Added and Adjusted?
Accessories are most useful when they solve a specific storage problem. A drawer tower may keep folded items visible and contained, while a shoe shelf can make pairs easier to see. A valet rod can provide a temporary place to hang an outfit, and a hamper can keep laundry from collecting on the floor.
During installation, accessories are positioned at heights and locations that support the way you use the closet. The installer checks that drawers open fully, rods have appropriate clearance, and shelves can be reached without awkward movement. Adjustable elements are set to the agreed starting position, but the homeowner should also understand which components can be moved later.
This is where a design-led system has an advantage over a fixed layout. Storage needs change as wardrobes, routines, and rooms change. Adjustable shelves and thoughtfully placed supports can give the homeowner more flexibility without requiring a complete replacement of the system.
Explore closet shelving options designed around your space
What Should You Expect on Installation Day?
Installation day is usually organized around a clear sequence. The team arrives with the prepared components and hardware, protects the work area, and confirms the approved design. Components are staged so the work can move efficiently without mixing sections or losing small parts.
A typical sequence includes:
- Arrival and walkthrough: The team confirms the room, access path, layout, and any special instructions.
- Protection and staging: Floors and nearby surfaces are protected while materials and tools are organized.
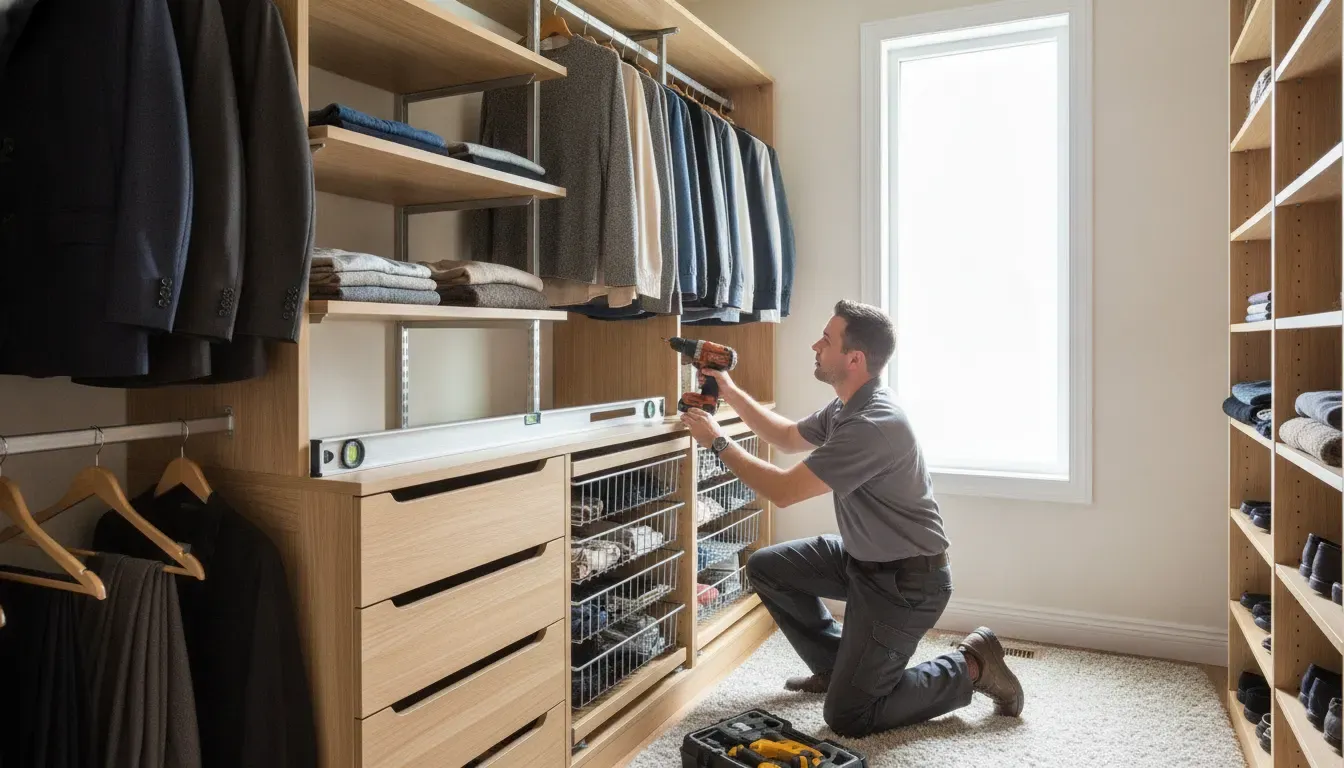
- Primary installation: Rails, panels, towers, shelves, and rods are positioned, leveled, and secured.
- Accessory installation: Drawers, baskets, shoe storage, hampers, and other selected components are fitted and adjusted.
- Quality review: The team checks alignment, operation, finish details, and the overall layout.
- Cleanup and handoff: Packaging and work debris are removed, and the homeowner reviews the finished space.
Creative Closets’ service model is built around professional installation rather than asking the homeowner to interpret a generic instruction sheet. Many closet projects can be installed in one day, although the exact schedule depends on the room, system size, access, and design complexity. The consultation is the right time to ask what the project schedule will look like for your specific space.
How Does Professional Installation Protect Long-Term Use?
A closet system has to do more than look finished on the day it is installed. Shelves need to remain aligned, drawers need to open smoothly, rods need to stay secure, and the layout needs to remain practical as the closet is used every day.
Professional installation supports those goals by combining accurate measurements, appropriate attachment, careful leveling, and a final operational check. It also gives the homeowner a clear point of contact if a question comes up after the project is complete. That accountability is especially valuable when the system includes several components that must work together.
Creative Closets backs its closet systems with a lifetime warranty on materials and workmanship. Warranty terms can vary by component and situation, so review the coverage during your consultation and keep the project information after installation. A quality handoff should explain what was installed, how adjustable features work, and whom to contact with a service question.
What Should You Check Before Sign-Off?
The final walkthrough is more useful when you know what to inspect. You do not need to evaluate the project like an installer, but you should take a few minutes to operate the parts you will use most often.
- Open and close every drawer, basket, and door included in the design.
- Confirm that hanging rods and shelves have the expected clearance.
- Look along shelf edges and vertical panels for consistent alignment.
- Check that adjustable shelves are seated correctly and can be repositioned as explained.
- Review accessory locations against the approved layout.
- Point out any finish marks, gaps, or hardware questions before the team leaves.
- Confirm the warranty and service contact information for the project.
Photographing the completed system can also help you remember the original shelf positions if you later rearrange the closet. Keep any care instructions with your household records, especially when the system includes several finish or hardware types.
How Long Does Closet Shelving System Installation Take?
The installation itself may take one day for many residential closet projects, but the full project timeline begins with consultation and design. Measurement, layout approval, material preparation, and scheduling all happen before the installation crew arrives.
Project length varies with the number of walls, the condition of the room, the amount of customization, and the accessories selected. A reach-in closet with a straightforward layout may require less installation time than a walk-in closet with multiple towers, drawers, and specialty storage. Ask for a project-specific schedule instead of relying on a general estimate from another room or another home.
The most useful preparation is to clear the closet, confirm access, identify any items that must stay in the room, and bring your questions to the final design review. Those steps help the team focus on installation when the appointment begins.
Plan your closet shelving installation with a Creative Closets designer
Frequently Asked Questions About Closet Shelving Installation
Do I need to measure the closet before the consultation?
It is helpful to know what you can about the room, but a professional design team should verify the important measurements before materials are prepared. Share details about doors, windows, trim, outlets, and any existing storage so the designer can account for them during planning.
How are closet shelving systems attached to a wall?
Attachment depends on the wall construction and the approved system design. The installer selects secure attachment points and checks alignment as the system is built. Ask how the chosen layout will be supported and what wall conditions could affect the installation.
Can shelves, rods, and drawers be moved later?
Many systems include adjustable shelves and components that can be repositioned within the design. The amount of flexibility depends on the product and the installation plan. During the handoff, ask which features are adjustable and whether any changes require a service visit.
How much weight can closet shelving hold?
There is no single capacity that applies to every shelf. Span, depth, material, support spacing, wall attachment, and loading pattern all matter. A professional designer can recommend a configuration for the items you plan to store and explain any use guidelines for the finished system.
What does the Creative Closets warranty cover?
Creative Closets describes a lifetime warranty on materials and workmanship for its custom closet systems. Review the current guarantee details for the components in your project, and keep your installation information so questions can be handled efficiently after the handoff.
Move From an Empty Closet to a Better-Fitted System
Good closet shelving system installation combines accurate planning with careful work in the room. When the design reflects how you store clothing and accessories, the walls are properly prepared, the components are leveled and secured, and the final walkthrough is complete, the result is easier to use from the first day onward.
Schedule your free design consultation with Creative Closets